You probably get why onboarding is critical. Super critical when it comes to mobile apps. Need a refresher? Just look at the graph below.

Yep, that steep curve is 77% of your new users dropping off to never return after the first 3 days. First impressions matter. Who knew they mattered this much.
But don’t worry, we’ve got you. We work with hundreds of mobile app companies to improve their onboarding. Along the way, we’ve picked up a few must-haves and guidelines that you can use to improve your onboarding. Which leads us to this checklist.
The 11-step onboarding checklist for mobile apps
Step 1: Have an analytics tool in place
Yup. The first step doesn’t even have anything to do with onboarding.
But this is the first most important setup step and it’s crucial to have analytics in place as soon as possible. This will help you measure drop-offs at each step of your onboarding, measure activation and retention rates.
The right analytics setup will be the foundation on which you build your onboarding.
A couple of things you’ll want to measure:
- Retention rates (long-term)
- Activation metrics
- Time to value
Step 2: Check your retention curve
You should only be bothered about activation if you have a flatlining retention curve. Don’t have that yet? Well, you don’t really have PMF. Activation is not your concern right now, finding PMF is. You should come back to this article once you’ve hit PMF.

You can build retention cohorts on your analytics tool and check if long-term retention flattens out or trends to zero.

Step 3: Segment your users
You need to know your users, and by that we mean you should know:
- Who they are
- Why they came to you
- What they are trying to accomplish
Because only then can you segment usage data to really understand who are your power users and offer any meaningful personalization. This means asking them questions, during onboarding, in a scalable way (not just in selective interviews).
Here are some best practices to asking these questions during onboarding:
- Stick to ~5-7 questions on 3-4 screens
- Only ask what you will use
- Give context on why you are asking (giving context increases completion rates)
Step 4: Know your aha moments and activation metric
The right aha moments strung together will lead to the user finally getting activated.
You can consider a user activated when they’ve developed a habit on your app around the core action that delivers the value the user came to experience.
For example, for a grocery delivery app, activation could mean buying groceries 4 days out of the first 7 days on their app. The smaller aha moments would be being able to track where the delivery agent is, being able to find everything with a quick search and so on.
How do you know for sure that the activation metric you’ve decided is the right one?
Users who meet your activation metric must have higher long-term retention than users who don’t get activated.
If you’re solving multiple use cases or “jobs” within your app, each use case can have differing aha moments and activation metrics.
The segmentation exercise you did previously will help you develop aha moments and metrics for each segment.
Step 5: Establish clear and consistent value proposition
Onboarding starts before a user downloads your app and continues all the way till they get activated. Your messaging across channels should be consistent:
- Pre-signup: What you convey on your website, app download page, and ads should be similar
- During app onboarding: The value proposition that is presented to them should be in line with what they expect (these expectations are set in the pre-signup phase)
Reach out to users proactively and allow them to get in touch via emails, SMS, push notifications and always keep iterating.
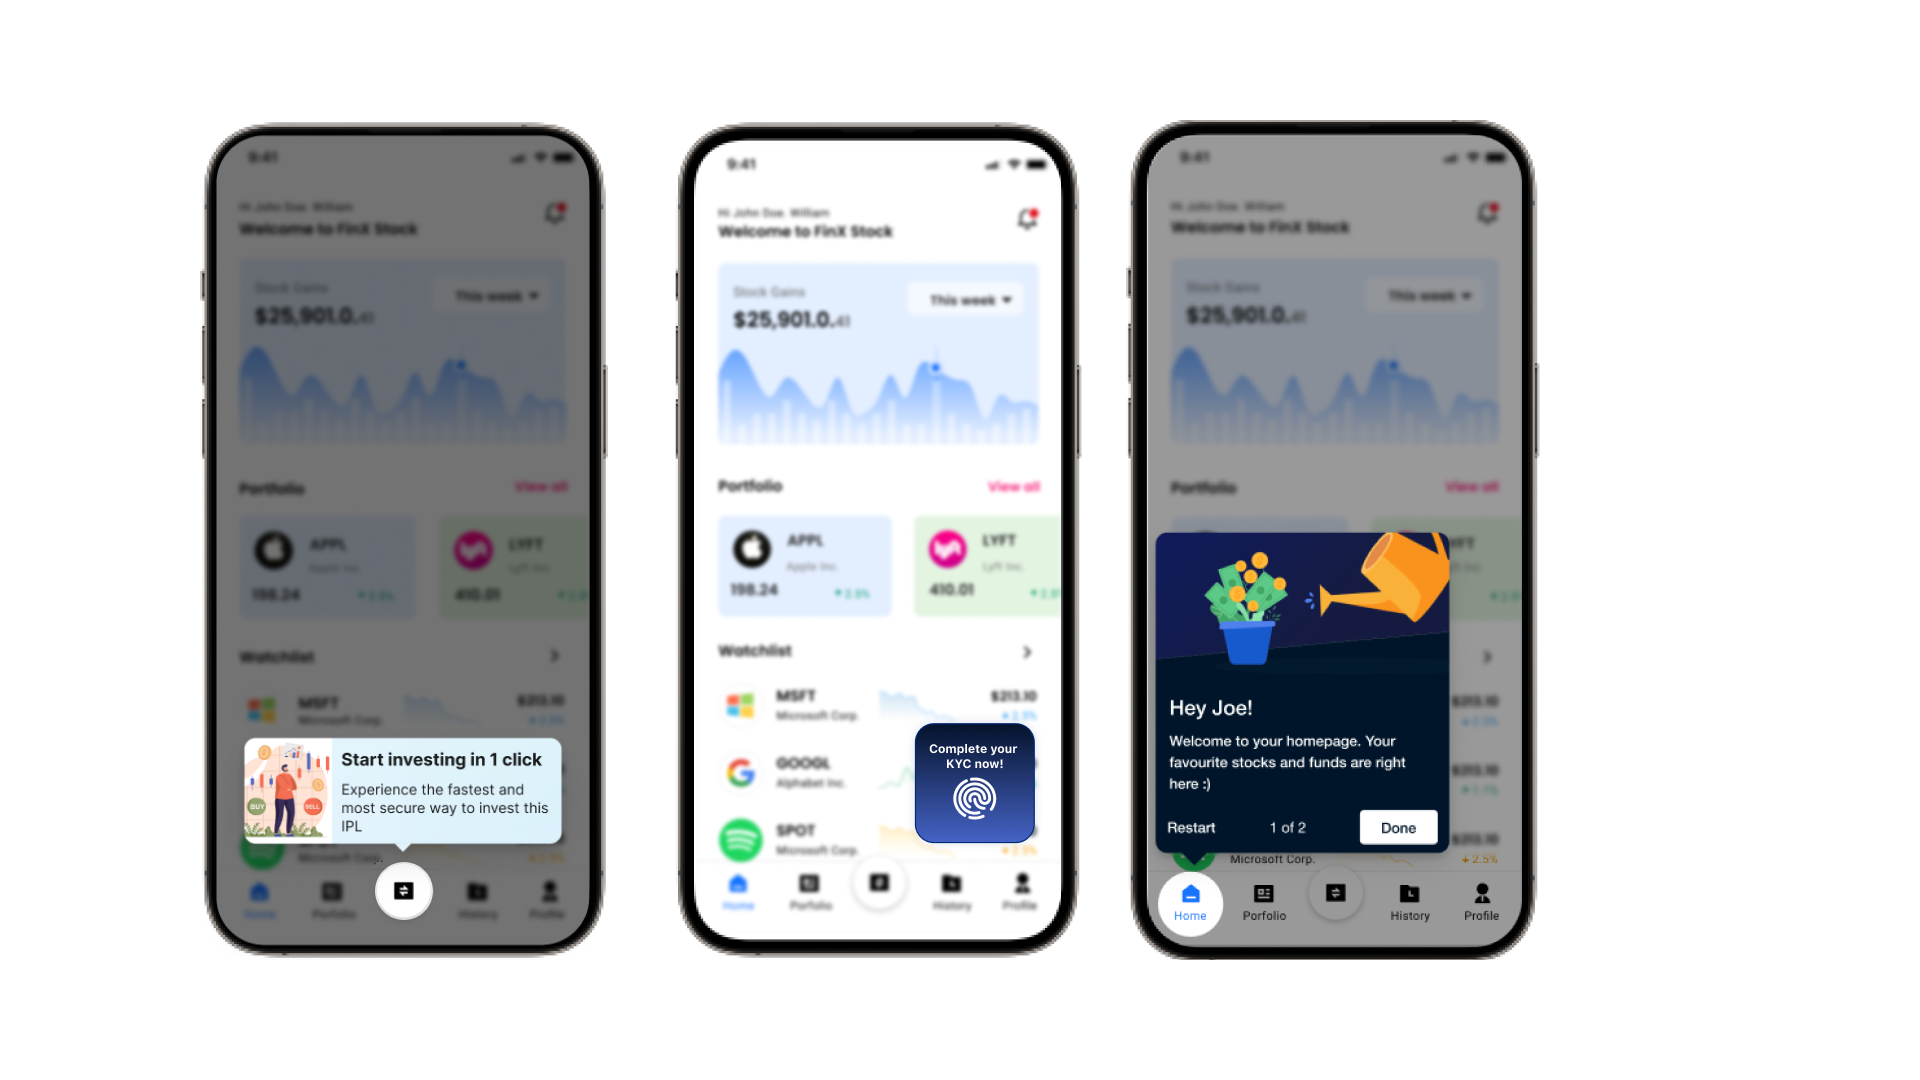
Step 6: Introduce core features along the way
Once a user is on your app for the first time, you just have a couple of minutes to introduce them to the core action that will deliver the value they’ve come to experience.
Make their journey simpler by highlighting the right features with simple tooltips or other forms of in-app messages.
Taking Google Pay’s example, they know that a new user will be activated much faster if they make a payment to their contacts via a search, or by scanning a QR code. They make sure a new user is aware how to use those 2 features with tooltips.

Step 7: Add social proof to motivate users to finish onboarding
Calm’s onboarding has a few steps, including questions around my goals for joining (meditation, managing stress, sleeping better, etc). Due to this slightly longer onboarding, they have included some social proofing midway to motivate users to finish onboarding.

Step 8: Show progress bars for long onboarding flows
Give your users a sense of how far along they are in their onboarding.
Elements like progress bars let users clearly see where they are in the process and what they need to do to finish. The closer they get to the end of the list, the higher their internal motivation will be.

Step 9: Fill in empty states
For any new user, you don’t have any of their data. So you might often have screens where you can show results or what value user has received once they actually do that core action.
In this case, any such empty screen can be an empty state (does not tell the user clearly what next step to take). Even error screens are examples of empty states.
Here’s a well done empty state.

Any page/screen that does not have a clear indication for the user to take the core action or info on what to do next should be filled in such that their are clear CTAs to take that action as soon as possible.
Step 10: Keep it short
Keep the initial onboarding process to the absolute bare necessities.
As we discussed in the “Segmenting” section, 5-7 questions on 3-4 screens.
If you find that you just can’t squeeze the core lessons into this frame, then hybrid onboarding might be the way to go - have initial onboarding, and you can add helpful tooltips, guides as and when your users interact with certain features for the first time.
This makes onboarding an ongoing experience where you can educate your user, building their lifetime value and profitability.
Step 11: A/B test multiple onboarding flows
The first onboarding flow you come up with won’t be the best, and over time, as you learn more about your users, you’ll want to test out new flows against your current one to see whether conversions (activation rates, downstream conversions, etc) increase.
A/B testing will help you optimize onboarding to deliver increasing conversion rates.
Here’s how you can go about running an A/B test:
- Build a hypothesis (from user insights - surveys, interviews, etc; or from
- Design solutions to validate or invalidate your hypothesis
- Roll them out and measure impact vs current flow
And that’s it!
Build onboarding flows that activate users with Plotline
You want new users to say “aha!” and not “hmm…”. That means you need to provide an exceptional UX from the moment the user buys your product. But improving your user experience requires experimentation, analysis, and iteration. That’s where Plotline comes in—we get new users to their aha moment faster by strengthening onboarding and guiding them through the behaviours that lead to good retention.
We help you build and publish in-app messaging flows sans coding, saving your developers time that can be better spent on other aspects of the product. Product growth and marketing teams can use Plotline to create onboarding in-app nudges like tooltips, coachmarks, bottomsheets, modals, spotlights and more that can be targeted to different user segments.